Showing posts with label Leftovers. Show all posts

Saturday, June 25, 2011

Gourmet Meals for One!

Recently, I've been trying new things to motivate myself to cook at home for one. Normally, by the time I get home from work, I'm completely exhausted. The last thing I want to do is cook just for me, then have to deal with a lot of left overs. Times like these, its so much easier to just order in or pick up something on the way home. But few days of that and I start to feel unwell- stomach goes completely out of whack. Not to mention, my waistline has no control these days and I'm not fitting in to any of my work clothes.

The solution was to eat healthier at home, but that doesn't solve the problem of never being able to cook enough just for one. Grocery shopping here is definitely tailored for families or couples, not for single ppl with small appetites. I've been freezing left overs a lot but now my freezer is about to explode, I can barely close the door. I was in a similar predicament the other day when I thawed out a pack of chicken breast. It was almost 2 lbs worth and I didn't really feel like having left overs for the next 3 days! Here is what I did:

Dinner on night one: Fresh pesto and tomato pasta with grilled chicken

Lunch 2 days later: Pesto chicken salad sandwich
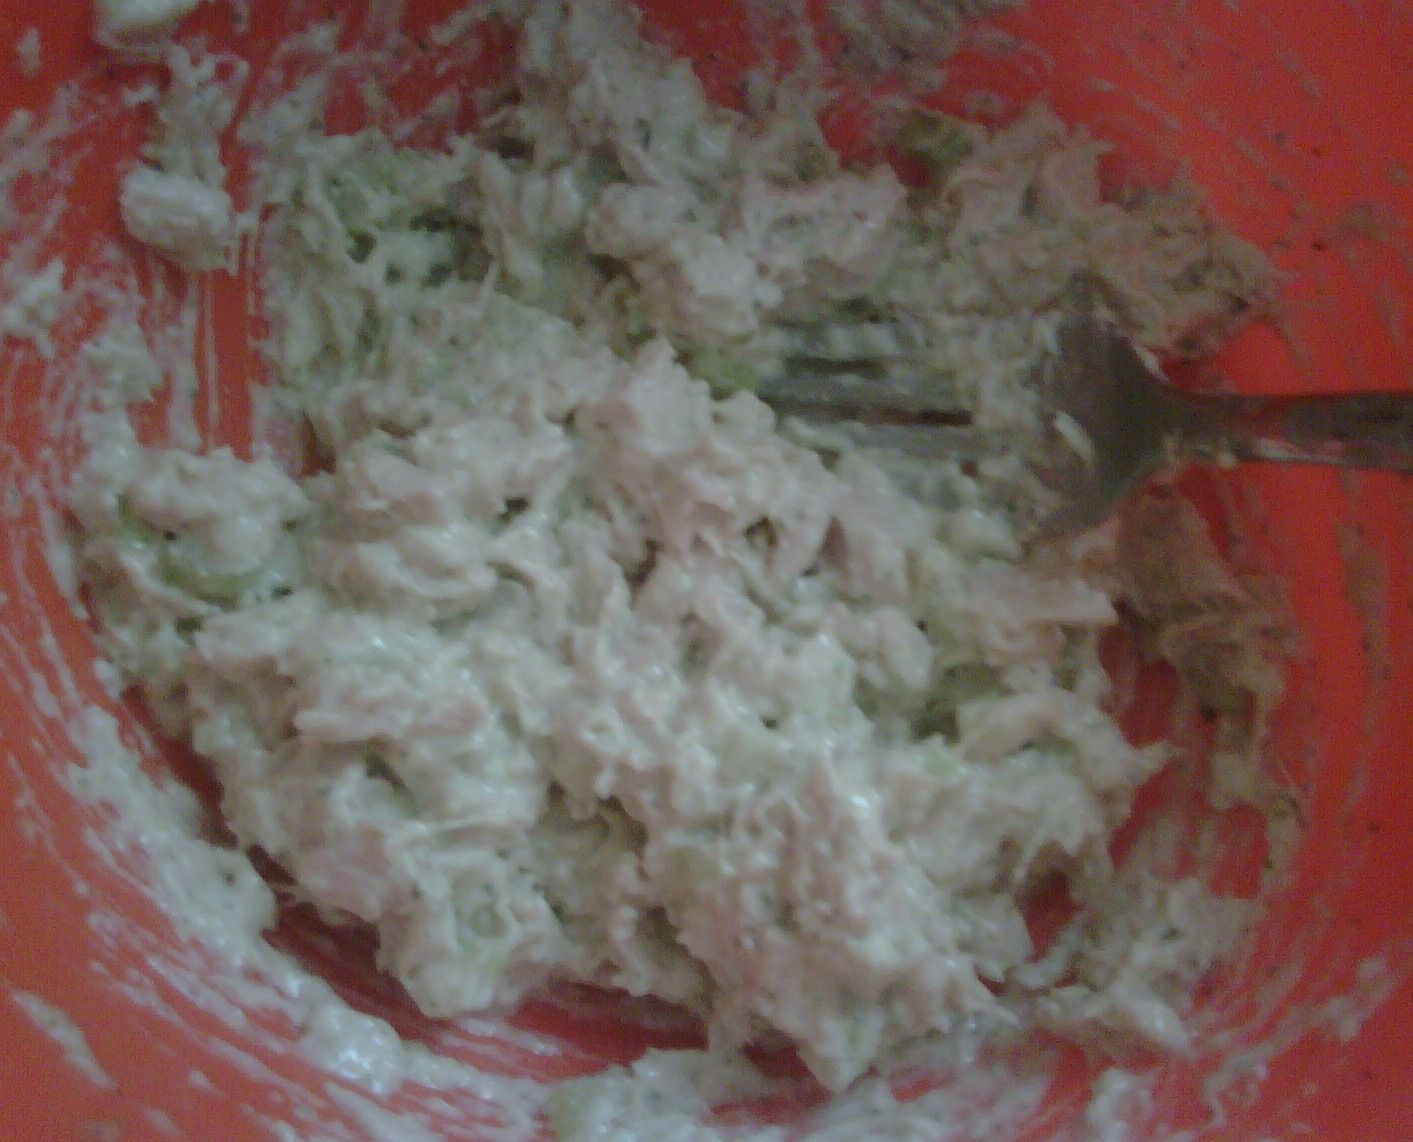
Because I also had a fresh Basil plant that really needed to be used, I made a big batch of pesto. I used the pesto with pasta the first night and then mixed it in with cream cheese and diced chicken to make a gourmet chicken salad. Because the pesto is so flavorful and had olive oil and cheese, I added a small amount of cream cheese and even smaller amount of mayo. This was not only a more flavorful chicken salad, it was healthier without all the mayo I normally use.

For the pasta:

I boiled enough spaghetti for dinner and a small lunch portion. I steamed the chicken without anything except a pinch of salt (2 medium breast pieces) and diced them in 1 inch cubes. I chopped up some tomato and then tossed everything together with the pesto. It was fresh, light and quick.

For the chicken salad:

I steamed the remaining chicken breast (3 medium and 1 small breast pieces) with just a little bit of olive oil, salt and garlic. Once cooked through, I stored it in the fridge- in an airtight container with all of the remaining juices from the pan. Two days later, I diced it up added some pesto, cream cheese, celery, tiny bit of salt and a tiny bit of mayo. The chicken salad is definitely more than one portion, but this can be had as a sandwich one time and then over a bed of lettuce and cucumbers as a refreshing salad the next day. It can also be stored in the fridge for a couple days or in the freezer for up to a month.

Hope this was helpful for you single people out there. We don't always have to resort to hot dogs or Ramen Noodles when we cook for one! There are healthier and easy options, it just takes a bit of thinking and planning.

Happy eating everyone!

Wednesday, March 17, 2010

Sweet Corn and Shrimp Enchilada's

Last night I was stuck in a meeting that ran much longer than I had planned, so by the time I got home to make dinner, it was already 9:30pm. I had some white rice left over from the night before and had planned to make some black beans with it tonight. Black beans (from a can) take hardly 10 min to make so that was one item taken care of. I just needed something quick and easy to go with this...

These enchiladas were a total experiment but turned out really good! Of course, as bad as I am with taking pictures, I remembered only AFTER I ate that I should've taken a couple. Sorry folks, next time... I see this quickly becoming a favorite  :)

6 corn tortillas (6")
1 small can of sweet yellow corn
10 to 12 medium size raw shrimp, tail off, peeled, de-viened and cut in half
1/2 cup grated Parmesan Cheese
1/2 medium yellow onion diced
1 tsp crushed garlic
1/2 tsp ground cumin
1/2 tsp cayenne (or to taste)
2 tbsp tomato sauce
1/2 cup of chicken stock or water
salt to taste
1 cup+ grated cheese (cheddar, colby, montery jack, whatever you like)
3/4 cup Old El Paso medium (red) enchilada sauce

In a skillet, saute the onion until translucent. Keeping the heat at medium to medium low, add in the cumin, cayenne, garlic and salt then mix well. Add in corn, stir and cover for a minute. Add in the tomato sauce, shrimp, chicken stock/water and stir to mix well. Cover and let cook for 5 to 7 minutes (over cooking will make the shrimp rubbery). Turn off the heat and pour contents of skillet in to a heat proof bowl, let sit for 5 min to cool down. Mix in the Parmesan cheese and check salt taste, add more if necessary. Keep to the side.

In another skillet, warm the tortillas one at a time with a drop of olive oil. Remove tortilla from skillet to a flat surface, fill with the prepared shrimp mix, roll and place seam side down in a baking/casserole dish. Repeat until all six are completed. Pour the enchilada sauce over the prepared enchiladas, sprinkle with cheese and bake for 15 to 20 minutes in the oven, set at 400 degrees. Once the cheese is melted and slightly browning around the edges, remove from oven and let sit for a few minutes before serving.

You can also add some chopped cilantro, diced tomato and sour cream as garnish if you like. I served these enchiladas with black beans, cilantro lime rice (re-purposed from the night before) and an avocado tomato salad. As always, feel free to try your own variations...point is to make things quick and easy from what is available in your freezer or pantry.

Happy Cooking!

Monday, February 23, 2009

Sauteed Shrimp

Today I'm going to share something so simple and relatively healthy with you. This dish can be paired with or added to a number of things. You can have it on its own or add it to rice, pasta, fresh salsas, soup, salads, etc. I usually get frozen shrimp (peeled and de-veined) because I don't want to handle raw shrimp and have to de-vein it myself. I recently made this shrimp and served it with pasta and an asiago cheese sauce.

1lb frozen shrimp (thawed out per instructions on package)
1tbsp olive oil
1tbsp butter (salted or unsalted)
some chopped garlic (to taste)
salt (to taste)
crushed red pepper (to taste)
3 to 4 fresh basil leaves, chopped

In a non-stick skillet add your olive oil and butter. Heat on medium until the oil is hot but not burning (be careful because we don't want the garlic to burn). Add the garlic, red pepper and fresh basil. Keep stirring to release the aroma but do not burn your garlic. One you've heated the ingredients enough to release their flavor and aroma in to the oil, add the shrimp and lower the stove to medium-low. Add salt to taste. Let the shrimp cook on one side for about 3 min and then flip and cook on the other side for 3 to 4 min. Keep the skillet covered to allow steam. Shrimp, if over cooked, becomes very tough so be careful not to over cook. The steam will help to keep the shrimp juicy.

Once ready, you can add it to your sauce, have on its own with rice or couscous, have it on a salad or even bake it in a casserole. The options are endless but the method simple, quick and healthy because with the garlic and basil, we don't need to add too much salt. We also add in olive oil to reduce the amount of butter used for sauteing shrimp.

Good luck, be creative and eat smart!

Wednesday, February 11, 2009

Roast Beef - the type I had growin' up

A couple days ago I went to the grocery store and they had beef (bottom round) on sale. These were all packed in pretty large roast sizes (2lbs was the smallest) so I picked one up. I had made a delicious pot roast for Christmas and had a lot of the gravy/vegetables left over which I put in the freezer. Because this roast was so large, I decided to make roast beef which could be used with the pot roast gravy as well as for sandwiches and other things. Growing up, my mom would always make most of our lunch meats at home because there was limited access to "halal" meat stores and Hebrew National hadn't really expanded beyond hot dogs. One of my favorites was the roast beef she made, it was juicy and flavorful. Delicious sandwiches!

You wont believe how easy it is and you can make a large amount then keep half in the fridge and freeze the rest. It keeps well in the freezer for up to 3 months in an airtight container. Here is how you make it:

3lbs roasting beef
2 to 3 bay leaves
5 whole black peppercorns
2 pieces garlic, peeled and cut in half
1/3 cup vinegar
2 tbsp salt
3 to 4 cups water

In a deep stock pot, place the roast- fat side down and turn the stove on medium high. Let the fat melt/brown for about 5 to 7 minutes. I do this so that no additional oil needs to be added later when browning. Add all of the ingredients and cover. Once the water starts to boil, turn the stove down to medium low or low. Let the roast cook for 2.5 to 3 hours and turn the meat about every 30 minutes or so. Once the water starts to dry up, watch the meat and turn to lightly brown on all sides evenly. You should leave some water/stock/fat in the pot as you will need this to store the beef later. Let the meat cool completely then slice in to thin slices. To store, you can place slices in a plastic Tupperware container and pour the remaining liquid over it. This will keep the meat moist, otherwise it tends to get too dry very quickly. If you are going to freeze any of the meat, slice and freeze immediately, with or without the liquid.

I made this yesterday and today I cooked some of the slices in the pot roast vegetables/gravy and served it with garlic/basil mashed potatoes.

Thursday, January 15, 2009

Chicken Roast

The other day my "sister-in-law to be" (that's a mouth full!) e-mailed asking me for a simple recipe using chicken breast and Desi (Indian/Pakistani) flavors. Immediately, my chicken roast recipe came to mind. I think this is a great recipe to have on hand for a number of reasons:
1. It is very easy and quick to make
2. It has a lot of flavor and can be used with both bone-in and boneless chicken
3. It can be had as a main dish or great side dish, plus the left overs can be used to make great Desi style sandwiches (Kati-roll ring a bell)
4. This is a great item for anyone trying to lose a few pounds, its healthy and naturally low fat!
5. You can alternate/substitute certain ingredients to create a completely different dish each time you make it

I'll list out the recipe first and then later show you how and what can be substituted. Feel free to e-mail me or comment if you have any suggestions/variations you've tried.

1 lb boneless chicken
2 heaping tbsp yogurt
1 full tsp garlic paste
1 tsp red chili pepper (lal mirch powder)
1 tsp ground cumin
salt to taste
~1 tbsp oil

Making sure the chicken is not frozen, dice into ~2" cubes, rinse and place in a bowl that has a lid. Add all of the ingredients except oil. Mix well, cover and refrigerate for at least 2 hours. I would recommend 4hrs to really make the chicken flavorful and moist. Remove the chicken from the fridge about 30 min before preparing (bringing it to room temp). In a deep skillet, add your oil and warm on medium heat. Add the chicken, stir and cover. Let it cook until the juice/water is almost dry, stirring occasionally to ensure all pieces are getting evenly browned. And thats it, ready to eat. Please make sure not to over-cook the chicken or it will get too dry.

Alterations-

*For bone-in chicken, use about 1.5lbs chicken to the above ingredients
*You can substitute the yogurt with 1/4 to 1/3 cup of lemon juice (this will make it more like chicken tikka)
*You can use ground black pepper instead of red chili, add some ground coriander here when using black pepper
*You can make this on a grill instead of a skillet in the summer, just put pieces on skewers and cook till tender
*You can add semi-cooked potatoes (potatoes can be cut in 1/2 or 1/4, depending on size, deep fried, salted then added to the cooking chicken)

Monday, December 15, 2008

Casseroles

In the winter when its cold and frosty, we tend to eat things that are warm. You might remember a blog I wrote a few months ago about cravings and certain things which I like to have when it's cold. One thing I didn't include in there was Casseroles. Now, the previous post was more about how cravings might actually be a way our body tells us what it needs... this one is more about "comfort foods" in various climates. For example juices and citrus based items like lemon chicken, cold soups, fresh steamed veggies and fruits are all things we like to have in the summer or spring when its warm and humid outside, because they're fresh and light.

Getting back to the cold weather we generally want to have soups, warm breads, heavy/cheesy pastas, meats with thick sauces and generally heavy foods which are not only served hot but also comforting in nature. The easiest thing probably to make, after eggs that is, are casseroles. You can use any number of items you may have in your pantry and fridge. You can even turn leftovers in to a whole new dish! You can be as creative, or not, as you want.

The other night I made a chicken and vegetable casserole and I'm going to include the recipe here so you can try it, or use it as a guide to make variations based on whats in your fridge. I had a lot of frozen vegetables that were needing to be used up and ground chicken meat which hadn't yet been frozen.

1lb ground chicken meat
1 small white onion (diced)
1 -2 tsp crushed garlic (depending on taste)
1 tsp dried parsley flakes
some frozen corn
some frozen spinach
some fresh mushrooms (sliced small with stems)
1 can cream of mushroom soup
1 -2 cups shredded cheese
1/2 tsp crushed red pepper (or to taste)
salt to taste
soy sauce to taste

Boil/cook about 1.5 cups of macaroni, mini farfalle or mini penne and keep to the side. In a deep skillet add some olive oil and diced onion, cook on medium to medium-high heat stirring occasionally. After about 3- 5 minutes (letting onion become completely translucent but not too brown) add the mushrooms and parsley. Cook for a minute or two until the mushrooms are coated. Then add crushed red pepper, chicken and garlic. If the chicken doesn't have much moisture add a 1/4 cup of water. Turn the heat down to medium and cook until the chicken is about Medium-well done and the water is almost dry. You will want to stir everything a few times in between but do let it cook covered to retain some juice and not dry out the meat. Ground chicken tends to get very dry pretty quickly so be careful.

Now add all the frozen vegetables, salt and soy sauce. Let this cook until the vegetables are done, you should have some juice left at the bottom of your pan (in other words to not dry out the vegetables completely). Turn off the stove and add whole can of condensed cream of mushroom soup, mix in well.

Turn the mix out in to a casserole dish (glass or ceramic baking dish), then add the prepared pasta and 1/2 the cheese. Mix everything together and then sprinkle the remaining cheese on top. Bake in the oven (uncovered) for about 25 to 30 minutes. When the edges start to brown, your casserole is ready. Let the dish stand outside the oven for 5 minutes before serving since it will be very hot.

Please note: If for some reason you feel that there might be more pasta than sauce/meat mix, you can add some water, milk or chicken stock before baking to thin out your mixture a little.