Showing posts with label Short cuts. Show all posts

Saturday, June 25, 2011

Gourmet Meals for One!

Recently, I've been trying new things to motivate myself to cook at home for one. Normally, by the time I get home from work, I'm completely exhausted. The last thing I want to do is cook just for me, then have to deal with a lot of left overs. Times like these, its so much easier to just order in or pick up something on the way home. But few days of that and I start to feel unwell- stomach goes completely out of whack. Not to mention, my waistline has no control these days and I'm not fitting in to any of my work clothes.

The solution was to eat healthier at home, but that doesn't solve the problem of never being able to cook enough just for one. Grocery shopping here is definitely tailored for families or couples, not for single ppl with small appetites. I've been freezing left overs a lot but now my freezer is about to explode, I can barely close the door. I was in a similar predicament the other day when I thawed out a pack of chicken breast. It was almost 2 lbs worth and I didn't really feel like having left overs for the next 3 days! Here is what I did:

Dinner on night one: Fresh pesto and tomato pasta with grilled chicken

Lunch 2 days later: Pesto chicken salad sandwich
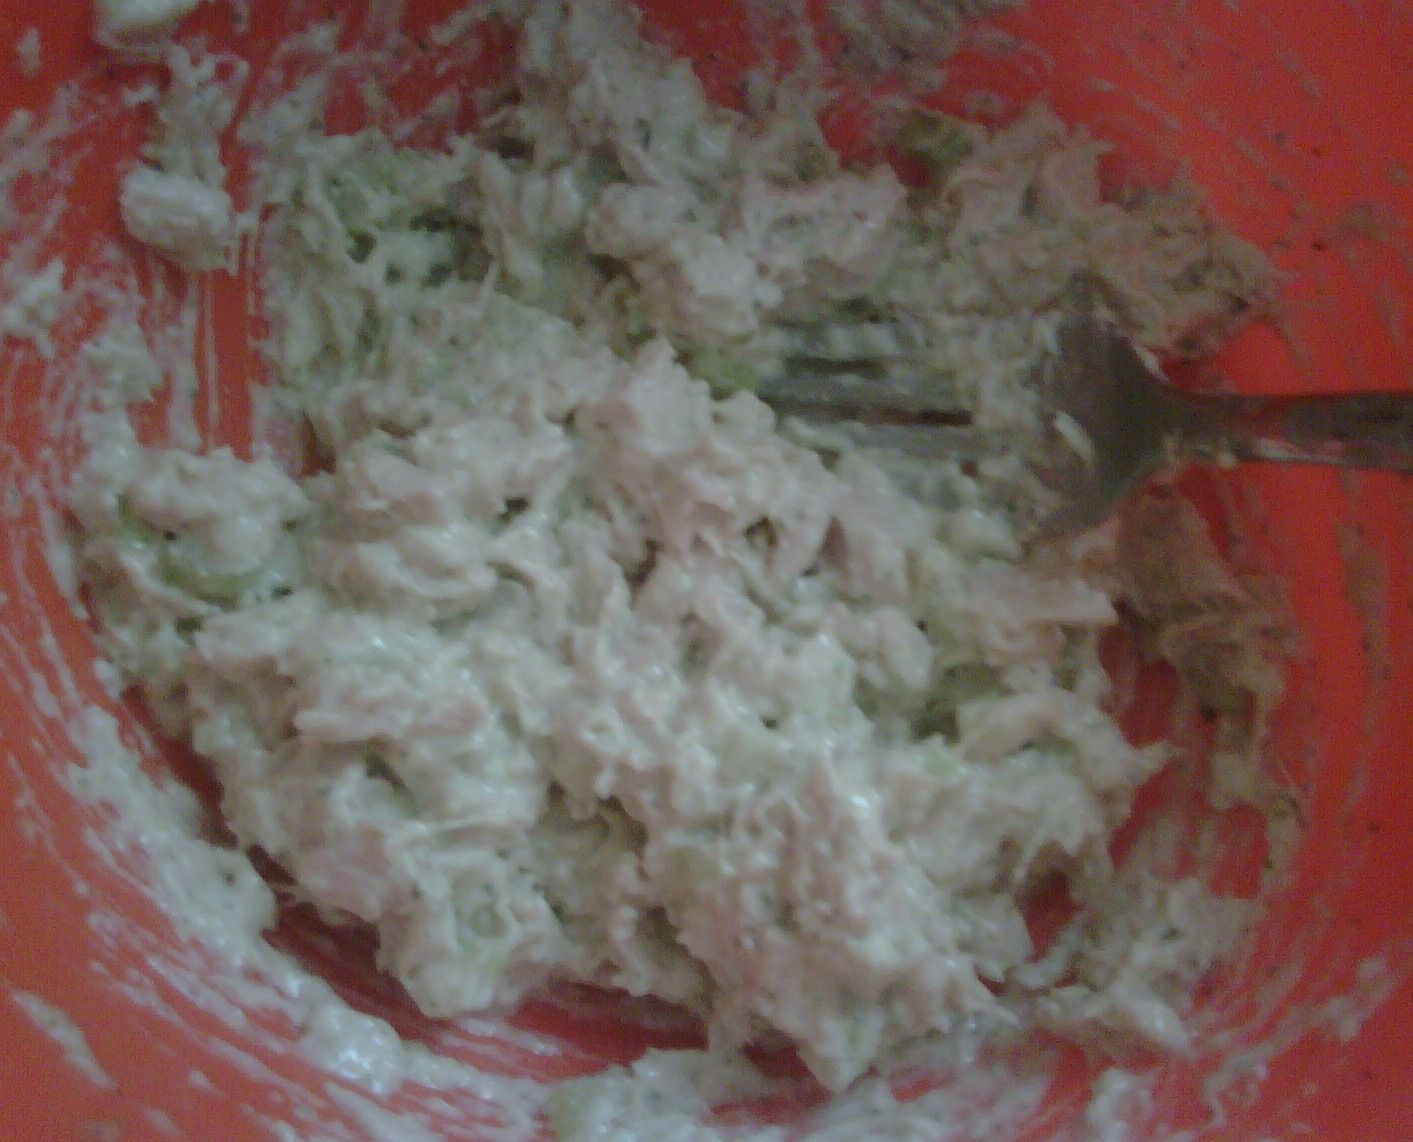
Because I also had a fresh Basil plant that really needed to be used, I made a big batch of pesto. I used the pesto with pasta the first night and then mixed it in with cream cheese and diced chicken to make a gourmet chicken salad. Because the pesto is so flavorful and had olive oil and cheese, I added a small amount of cream cheese and even smaller amount of mayo. This was not only a more flavorful chicken salad, it was healthier without all the mayo I normally use.

For the pasta:

I boiled enough spaghetti for dinner and a small lunch portion. I steamed the chicken without anything except a pinch of salt (2 medium breast pieces) and diced them in 1 inch cubes. I chopped up some tomato and then tossed everything together with the pesto. It was fresh, light and quick.

For the chicken salad:

I steamed the remaining chicken breast (3 medium and 1 small breast pieces) with just a little bit of olive oil, salt and garlic. Once cooked through, I stored it in the fridge- in an airtight container with all of the remaining juices from the pan. Two days later, I diced it up added some pesto, cream cheese, celery, tiny bit of salt and a tiny bit of mayo. The chicken salad is definitely more than one portion, but this can be had as a sandwich one time and then over a bed of lettuce and cucumbers as a refreshing salad the next day. It can also be stored in the fridge for a couple days or in the freezer for up to a month.

Hope this was helpful for you single people out there. We don't always have to resort to hot dogs or Ramen Noodles when we cook for one! There are healthier and easy options, it just takes a bit of thinking and planning.

Happy eating everyone!

Thursday, May 27, 2010

Quick Tip- stain fix

As a continuation to the Tips and Tricks series, here is another quick tip that could come in handy. Though it uses food, its not for food...

Last month we were in the process of packing up to move in to a temporary place and decided to down size. I had these bar stools from another apartment and they never fit the counter in the apartment we were in. We ended up keeping the stools on our balcony, where (not realizing) they were exposed to the elements... snow, rain, winds, dirt, etc.

I cleaned off the seat portion but didn't realize that the stainless steel bases were all stained with rust or something. I posted the stools on craigslist and someone wanted to buy them. When we pulled them in from the balcony to hand over, I noticed the stains. The buyer was only 15minutes away and we had to do something. Farhan went online and found a tip to clean rust stains. Believe it or not, by the time the buyer arrived, these stools looked BRAND NEW!!!

Here is what you need: Take a sponge and soak it with cola (coke, dr. pepper, etc) and wipe the stained metal. Take a piece of foil and gently scrub the stain. Wipe the area with water. Thats it! Simple and easy :)

Wednesday, March 17, 2010

Sweet Corn and Shrimp Enchilada's

Last night I was stuck in a meeting that ran much longer than I had planned, so by the time I got home to make dinner, it was already 9:30pm. I had some white rice left over from the night before and had planned to make some black beans with it tonight. Black beans (from a can) take hardly 10 min to make so that was one item taken care of. I just needed something quick and easy to go with this...

These enchiladas were a total experiment but turned out really good! Of course, as bad as I am with taking pictures, I remembered only AFTER I ate that I should've taken a couple. Sorry folks, next time... I see this quickly becoming a favorite  :)

6 corn tortillas (6")
1 small can of sweet yellow corn
10 to 12 medium size raw shrimp, tail off, peeled, de-viened and cut in half
1/2 cup grated Parmesan Cheese
1/2 medium yellow onion diced
1 tsp crushed garlic
1/2 tsp ground cumin
1/2 tsp cayenne (or to taste)
2 tbsp tomato sauce
1/2 cup of chicken stock or water
salt to taste
1 cup+ grated cheese (cheddar, colby, montery jack, whatever you like)
3/4 cup Old El Paso medium (red) enchilada sauce

In a skillet, saute the onion until translucent. Keeping the heat at medium to medium low, add in the cumin, cayenne, garlic and salt then mix well. Add in corn, stir and cover for a minute. Add in the tomato sauce, shrimp, chicken stock/water and stir to mix well. Cover and let cook for 5 to 7 minutes (over cooking will make the shrimp rubbery). Turn off the heat and pour contents of skillet in to a heat proof bowl, let sit for 5 min to cool down. Mix in the Parmesan cheese and check salt taste, add more if necessary. Keep to the side.

In another skillet, warm the tortillas one at a time with a drop of olive oil. Remove tortilla from skillet to a flat surface, fill with the prepared shrimp mix, roll and place seam side down in a baking/casserole dish. Repeat until all six are completed. Pour the enchilada sauce over the prepared enchiladas, sprinkle with cheese and bake for 15 to 20 minutes in the oven, set at 400 degrees. Once the cheese is melted and slightly browning around the edges, remove from oven and let sit for a few minutes before serving.

You can also add some chopped cilantro, diced tomato and sour cream as garnish if you like. I served these enchiladas with black beans, cilantro lime rice (re-purposed from the night before) and an avocado tomato salad. As always, feel free to try your own variations...point is to make things quick and easy from what is available in your freezer or pantry.

Happy Cooking!

Tuesday, February 2, 2010

Tips & Tricks

I think at some point I was going to do a series of "quick tips" but didn't really get around to it. In between longer posts, recipes and articles, I will be adding in some Tips and Tricks you may find useful in the kitchen... or otherwise.

My first tip/trick is a HUGE time and energy saver! If you go back to my recipe for Masoor Ki Daal, you'll remember I said to mash the cooked daal until it forms a paste... well if you happen to have a hand blender/kitchen stick (here is what I have) USE IT. No more spending your time or effort (mashing can be pretty tiring) hand pureeing your lentils!

Monday, June 8, 2009

Chicken Bake with a Stroganoff like sauce


Not too long ago, I pinched a nerve in my neck. This was just after a very busy few weeks where I hardly had the chance to cook. We must have ate out 10 of the 15 days and here again was another reason for me not to cook! A couple days later I decided enough was enough and the groceries needed to be salvaged quickly, unfortunately not all survived this long hiatus...

I had some chicken breast sitting in the freezer and some mushrooms that were just barely surviving. I decided I needed to whip up something that involved the least amount of stirring and effort, thus was born this Chicken Bake recipe. Here is what I did:

1+ lb chicken breast (boneless)
1 small package mushrooms sliced (any kind will do fine)
1/2 can of sweet corn
crushed garlic (to taste)
salt (to taste)
Worcestershire sauce (to taste)
~ 1 cup chicken stock
~2tbsp butter
1/3 cup chopped onion (I used the frozen one, it works fine)
3 to 4tbsp sour cream
1tsp parsley flakes

In a large saute pan add the butter. Once melted add in the chopped onion. When the onion is cooking (reaching transparency) add the garlic, salt and Worcestershire sauce. Then add the mushrooms, stir and cover. Let this cook for 5 to 7 min until the mushrooms are wilted and there is very little/if any liquid remaining. Add the olive oil, corn, chicken stock, sour cream and parsley; mix well and cover. Once the liquid starts to boil, reduce heat and simmer for about 7 minutes. The contents should be a thick stew type consistency (not too dry, nor too watery), if you need you can add a little flour to thicken up your sauce.

Empty the contents into a glass or porcelain casserole dish. Use the same skillet to cook your chicken breast. Slice in half, thus reducing the thickness of a normal chicken breast piece. Salt and flour each piece, then place in heated skillet with a dash of olive oil. Cook on each side for about 5 or 6 min on medium high heat. Remove the chicken from the skillet and place in the casserole dish with the sauce. Add some more chicken stock if your sauce looks a little dry, cover the chicken with the sauce and then place in the oven (uncovered). Bake at 375 degrees for 25 to 30 minutes. Let sit for 5 min out of the oven before plating.

I served this with a Mushroom and Garlic couscous but you can serve it with plain rice, mixed vegetables, garlic bread...whatever you have available and meets your fancy! And look, I remembered to take pictures this time!!!

Hope you enjoyed this post and will try making a chicken bake of your own! Please share your recipe or alterations with me if you do. As always...Happy Cooking!

Thursday, April 23, 2009

Sloppy Joe's!!!

Hello Everyone! I know its been forever and a day since I posted anything new and I am so sorry. BUT this long hiatus was not unfounded. I've been busy with so many creative things (lots of cooking too) and haven't had a chance to write. I will diligently try to update as much as possible in the next few weeks, all while packing and moving!!! In the mean time, you can check out one thing thats been keeping me busy these past few weeks http://www.sindulgellc.com/

I'm taking a break from packing up our apartment right now and decided, since I have a quick minute, to type up a quick recipe from the other day. I honestly can not remember the last time I had a sloppy joe, maybe back in grade school? A good friend came over when I made these and she said she had only had them once in her life when she was a little girl in school. When was the last time YOU had a Sloppy Joe?

Because we are moving soon and I've been busy packing and avoiding grocery shopping, I took a short cut on dinner by whipping these up (takes all of 20 min) and using a Manwich sauce can as a base. I substituted ground turkey for the ground beef traditionally used since my husband isn't allowed to eat red meat (cholesterol). For sides, I baked some fries (pre-packaged) and made a simple mushroom and sweet corn casserole. We had a "fast-food" meal at home, with out the extra fat and unhealthy ingredients...

All you need is:
1 can (15 or 16 oz) Manwich Sauce
1 small onion
1 tsp garlic paste
2 tbsp cooking oil
~1lb ground turkey (or beef if you want)
1 tbsp Worcestershire Sauce
1 1/2 tsp apple cider vinegar (optional)

Chop (dice) the onion and saute over medium heat until it becomes translucent. Add the garlic and mix, then add your meat (rinsed and drained). Cook the meat covered, stirring occasionally, until no longer pink. Uncover and continue to cook for a few min. Add the Worcestershire Sauce and vinegar (if you want). Stir well. After a few minutes (when the liquid reduces a bit) add the Manwich sauce, stir well and cook for a few minutes until it reaches a consistency you like. That's it! Simple and quick, it shouldn't take more than 20 to 25 minutes.

Pour your mixture on to hamburger buns (you can also use regular sandwich bread, pita or hot dog rolls) and sprinkle with some shredded cheese (if you like). I used the Mexican four cheese blend and it melts right on to the mix when its hot off the stove. Enjoy... and don't worry about the mess!

Tuesday, February 3, 2009

Easy Haleem

Not too long ago in one of my blogs, I mentioned making Haleem over inauguration weekend. A friend later asked me for my recipe/method and since I was writing it out for her, I figured I'd share with all of you as well! To make life simpler (and not have to buy 10 different types of grains) I buy the Shan Haleem mix, available at most Indian/Pakistani grocers. Make sure you buy the regular or Shahi Haleem Mix and not the Easy Haleem Mix (unless you prefer to have very slimy consistency). Also, the National Brand isn't so tasty... they don't have the right spices nor the right grains. In addition to the pulses in the box, I add a few grains which we usually have at home. It is up to you if you want to add all or some of these to your Haleem.

1 box Shan Haleem mix (packet of grains etc soaked for 1 hour)
1/2 cup channa daal (soaked for at least 2 hours)
1/2 cup brown basmati or long grain rice (soaked for 30 min to 1 hour)
1/4 cup oats (normal - not quick cook) or barley
1/4 Bulgar or cracked wheat (optional)
1lb beef (shank, without bone)
1lb beef with bone
ginger paste (about 1tbsp)
garlic paste (about 1.5 tbsp)
salt

Make sure you soak everything that needs to be soaked well in advance so when it comes time to make your Haleem, all you do is add everything step by step. Heat some oil in a large stock pot or big dutch oven and add the washed meat, ginger and garlic paste. Saute until the meat is no longer bright red, then add 1/2 to 3/4 packet of the spice mix (depending on how spicy you want it)... I never add the whole packet because it's just too much. If you want, you can also add even less of the spice packet but put some fresh garam masala and cayenne pepper (laal mirch) on your own to add spice/flavor. Mix and saute for a few minutes on medium heat.

Now add all of your grains/pulses, 1tbsp salt and about 8 to 10 cups of water (do not use the water in which your grains were soaking). Stir, cover and turn heat up to high. Check occasionally and when the water/haleem starts to boil, turn the heat down to medium or medium high...depending on electric or gas respectively. Let the mix cook for a few hours, stirring on and off (maybe every 30 to 40 min). As the haleem is cooking, you will see the meat starting to fall off the bone (maybe after 2.5 to 3 hours). At that point turn your heat down to medium low or low. After another hour or so, you can turn off the heat and remove (pull out) all the pieces that have/had bone (making sure to remove all bone from the pot). You want to pull the meat off the bone and keep aside. You can also take out some more of the bone-less meat if you want your haleem more chunky (that's how I like it).

Then take a hand blender or a large masher and grind/mash the haleem. You want it to be a thick soupy consistency but not too watery. If it is too thick, you can add more water or if it is too watery, put it back on the heat to thicken. Add the rest of the meat back to your haleem and mix well. Break down any large pieces of meat with your spoon, turn the heat back on to medium and cook while on the side you brown some onion (one small to medium onion sliced fine) in about 3/4 cup of oil. You will want to add the browned onion with oil to the haleem as bhagaar/thurka. Before adding the onion, taste to make sure you have enough salt.

When browning the onion, you can cut and brown some extra to keep on the side as one of the garnishes. Additional garnishes, which are kept to the side, are chopped cilantro; finely chopped green chillies; fine sliced (julienned) ginger; lemon or lime and chaat masala.